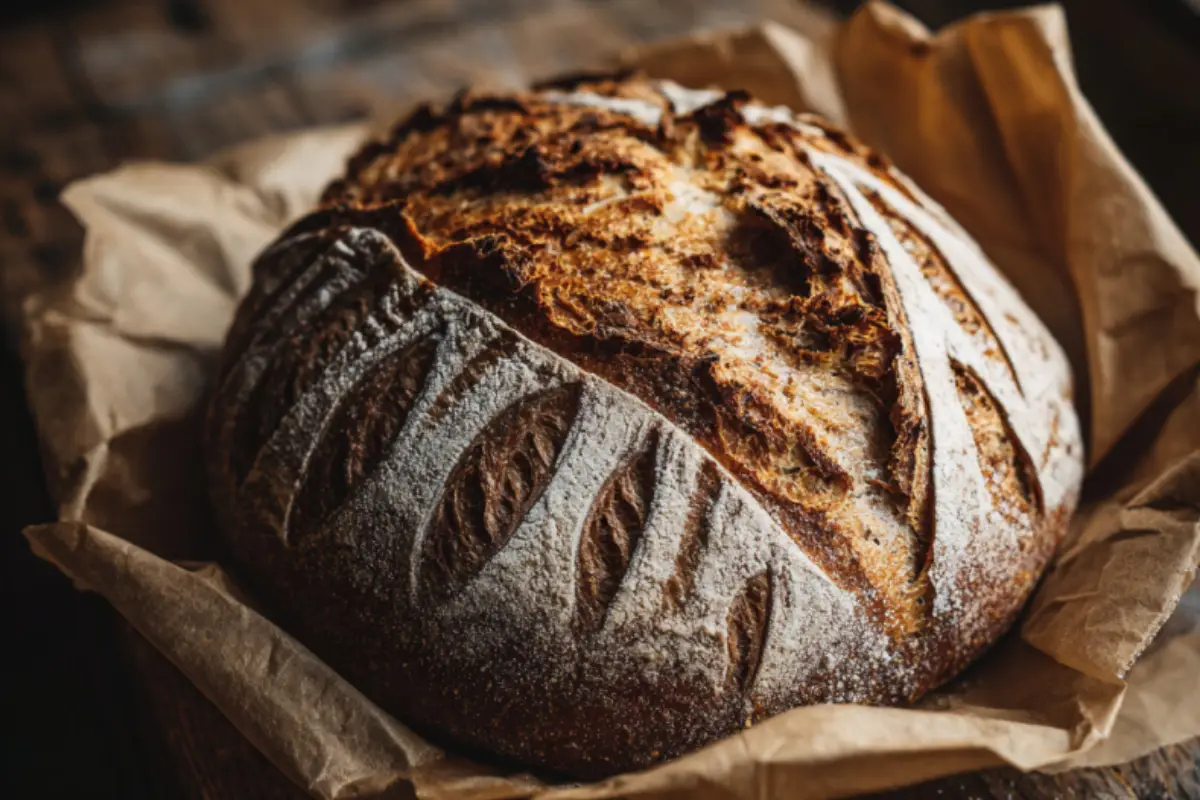
Do you miss the smell of fresh, warm bread baking in the oven? If you follow a gluten-free diet, you probably know how hard it is to find a good loaf. Most store-bought gluten-free bread tastes like cardboard or crumbles the moment you touch it. You might think that a beautiful, artisan loaf of sourdough with a crispy crust and a soft, chewy inside is a thing of the past.
Good news: you can absolutely enjoy amazing bread again. This recipe will show you exactly how to make a stunning loaf right in your own kitchen. It looks and tastes like it came from an expensive bakery, with a gorgeous golden crust and beautiful artisan scoring. Let us look at how easy it is to bring real bread back into your life.
Overview
This recipe changes everything for gluten-free baking. Traditional sourdough relies on gluten to hold air bubbles and create a chewy texture. Instead of wheat, this recipe uses a special blend of gluten-free grains and natural binders to copy that exact structure. The result is a loaf with a deep, complex flavor and a beautiful golden crust that cracks when you squeeze it.
- Difficulty Level: Medium. Sourdough requires a bit of patience, but the steps themselves are very simple.
- Time Required: 30 minutes of active work, 12 to 24 hours of total time (mostly waiting for the dough to rise and ferment).
- Dietary Safety: This recipe is 100% gluten-free. It is completely safe for people with celiac disease or severe gluten sensitivity.
Essential Gluten-Free Ingredients
Baking without gluten means picking the right ingredients. For the best results, always look for packages that say “certified gluten-free” on the label. This ensures your food is safe from cross-contamination.
Here are the main ingredients you will need for this loaf:
- Active Gluten-Free Sourdough Starter (150 grams): This is your natural yeast. You can make your own starter using brown rice flour and water, or buy a gluten-free culture online.
- Brown Rice Flour (200 grams): This provides a mild, nutty flavor and forms the bulk of your bread structure.
- Sorghum Flour (150 grams): Sorghum helps give the bread its beautiful golden color and a texture that mimics traditional wheat.
- Tapioca Starch (150 grams): Also known as tapioca flour, this starch is crucial for creating a chewy interior and a crispy crust.
- Psyllium Husk Whole Flakes (25 grams): Do not use powder. Whole psyllium husks act like gluten by trapping gas and water, which keeps your bread from turning into a puddle.
- Warm Water (450 grams): Water activates the psyllium husks and hydrates the grains. Use filtered water at around 80 degrees Fahrenheit.
- Fine Sea Salt (12 grams): Salt enhances the sourdough flavor and strengthens the dough.
Optional Add-ins and Dietary Tweaks
- Vegan & Dairy-Free: This base recipe is already naturally vegan and dairy-free.
- Seed Crust: Mix in 20 grams of sunflower or pumpkin seeds, or roll the wet dough in sesame seeds before baking.
- Herb & Garlic: Gently fold 2 teaspoons of dried rosemary and 1 teaspoon of garlic powder into the flour mix.
Step-by-Step Instructions
Follow these steps carefully. Handling gluten-free dough is different than handling wheat dough because it feels more like wet clay than stretchy elastic.
1. Make the Psyllium Gel
In a medium bowl, combine 25 grams of whole psyllium husks and 450 grams of warm water. Whisk it quickly to avoid lumps. Let it sit for 10 minutes. It will turn into a thick, jelly-like paste.
2. Mix the Dry Ingredients
In a large mixing bowl, whisk together 200 grams of brown rice flour, 150 grams of sorghum flour, 150 grams of tapioca starch, and 12 grams of fine sea salt. Make sure there are no clumps.
3. Combine Everything
Add 150 grams of active gluten-free starter and the psyllium gel to your dry flour mixture. Use a wooden spoon or your hands to mix everything together. Knead the dough inside the bowl for about 3 to 5 minutes until all the flour is wet and you have a smooth, sticky ball.
4. First Rise (Bulk Fermentation)
Cover the bowl with a damp cloth or plastic wrap. Let it sit on your kitchen counter at room temperature for 4 to 6 hours. The dough is ready when it feels lighter, looks slightly puffy, and smells pleasantly sour.
5. Shape the Loaf
Place a piece of parchment paper on your counter. Turn the dough out onto the paper. Smooth the surface with wet hands and shape it into a smooth oval or round shape. Place the dough, still on the parchment paper, into a bowl or a proofing basket. Cover it and place it in the refrigerator for 8 to 12 hours (overnight). This cold rest develops the flavor.
6. Preheat Your Oven
The next day, place a heavy Dutch oven pot with its lid on into your oven. Preheat the oven to 450 degrees Fahrenheit. Let the pot get hot for at least 45 minutes.
7. Score the Dough
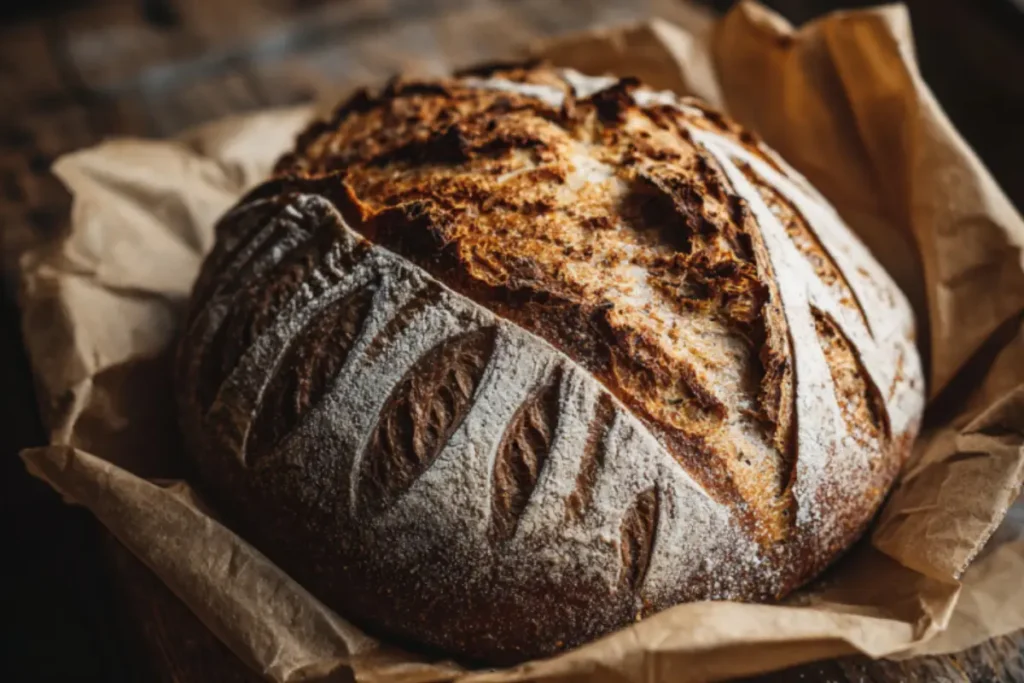
Take your cold dough out of the fridge. Use a sharp knife or a razor blade to cut a deep slash down the middle of the loaf. This controls how the bread expands. If you want a beautiful decorative look, use the tip of the knife to make small, shallow cuts on the sides that look like tiny leaves or a stalk of wheat.
8. Bake the Bread
Carefully remove the hot Dutch oven from the oven. Pick up your dough by the corners of the parchment paper and lower it into the hot pot. Put the lid back on. Bake for 40 minutes with the lid on. This traps the steam and creates a crispy crust. Remove the lid and bake for another 20 to 25 minutes until the crust is a deep golden brown.
9. Cool Completely
Remove the loaf from the pot and place it on a wire cooling rack. You must let the bread cool for at least 4 hours before slicing. Cutting into hot gluten-free bread will make the inside gummy and wet.
Serving Suggestions
Once your bread is fully cool, slice it with a sharp serrated bread knife.
- The Classic Slice: Toast a slice and slather it with salted dairy-free butter or rich avocado.
- Soup Companion: Serve a thick slice alongside a warm bowl of gluten-free tomato soup or vegetable stew for dipping.
- Charcuterie Style: Arrange slices on a platter with grapes, nuts, and your favorite gluten-free cheeses.
Storage & Make-Ahead Tips
Gluten-free bread dries out faster than standard bread, so storing it correctly keeps it delicious.
- Room Temperature: Store the unsliced loaf in a paper bag or a bread box for up to 3 days. Do not store it in a plastic bag, or the crust will get soft and soggy.
- Freezing: Slice the entire loaf after it cools. Place pieces of parchment paper between the slices so they do not stick together. Place the slices in a freezer-safe bag and freeze for up to 3 months.
- Reheating: Do not thaw frozen slices on the counter. Pop them directly into a toaster from the freezer. Toasting brings back the original crispy texture and makes the inside soft again.
Recipe Variations
- High Protein Version: Replace 50 grams of sorghum flour with 50 grams of quinoa flour or chickpea flour.
- Sourdough Sandwich Loaf: Instead of baking in a Dutch oven, press the dough into a greased loaf pan after shaping. Let it rise, then bake at 400 degrees Fahrenheit for 60 minutes.
- Cinnamon Raisin Sourdough: Knead 50 grams of raisins and 1 tablespoon of ground cinnamon into the dough during step 3.
Conclusion
Baking your own gluten-free sourdough takes time, but the reward is worth every minute. You deserve to eat bread that tastes incredible and makes your kitchen smell like a professional bakery. Do not feel discouraged if your first loaf is not perfect; baking is a skill that grows with practice.
If you try making this recipe, please leave a comment below to share your experience or ask questions.
FAQs Section
Can I use oat flour instead of sorghum flour?
Yes. You can use certified gluten-free oat flour as a direct replacement for sorghum flour. It will give the bread an even softer texture and a slightly sweeter flavor.
How do I keep my gluten-free bread from crumbling?
The secret is the combination of psyllium husk and tapioca starch. Psyllium husk binds the ingredients together so the bread holds its shape when you slice it. Make sure to measure your ingredients exactly using a digital kitchen scale.
Why is my bread gummy in the middle?
This usually happens for two reasons. First, you might have sliced the bread while it was still hot. Gluten-free bread continues to cook and set inside as it cools on the rack. Second, your oven might run cool. Use an oven thermometer to ensure your oven hits a true 450 degrees Fahrenheit.