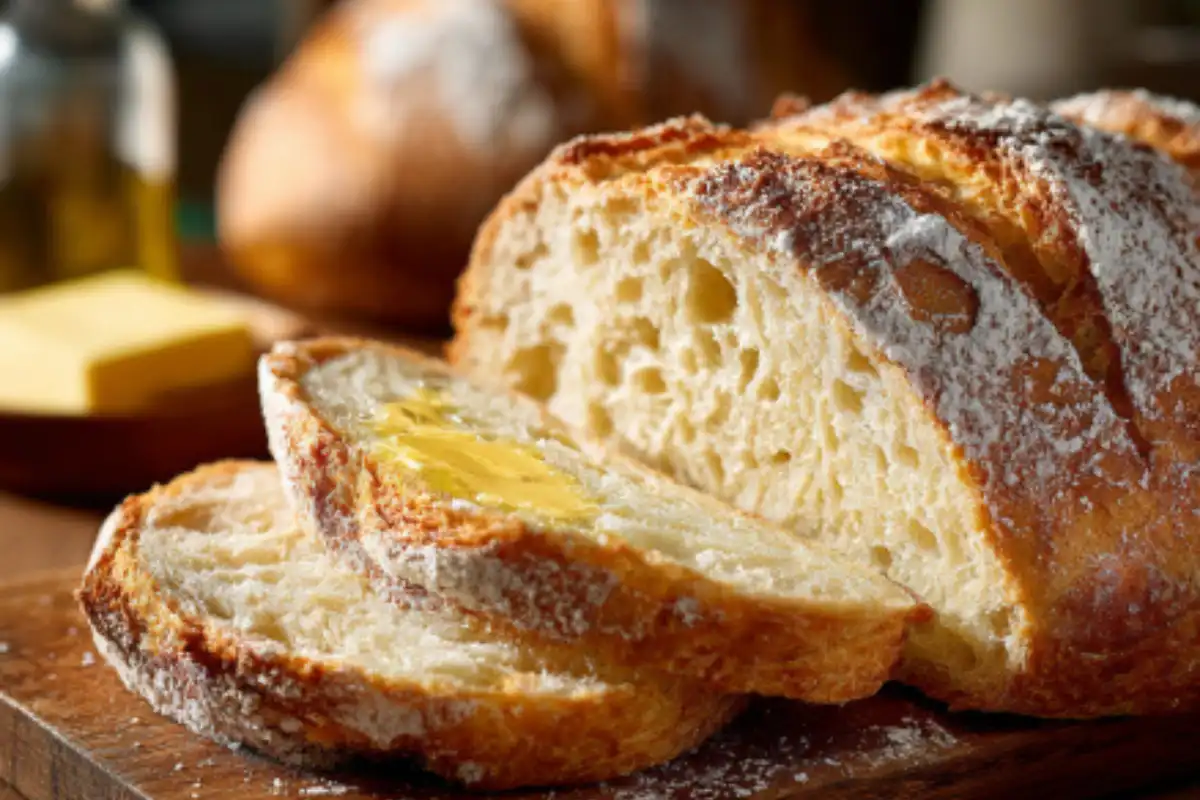
Have you ever bitten into a slice of gluten-free bread, only for it to crumble into dry pieces before you could even finish it? If you are living with celiac disease, managing a gluten sensitivity, or baking for someone you love, you know how hard it is to find a good loaf of bread. Missing the simple joy of a soft, thick sandwich slice is one of the biggest challenges of going gluten-free. You do not have to settle for tiny, dense, frozen loaves anymore. This recipe will show you how to make a beautiful, rustic loaf that is incredibly fluffy on the inside with a perfect bakery-style crust.
Overview
This gluten-free sandwich bread is a game-changer because it gives you the exact texture of a traditional artisan boule without any of the gluten. It features a beautifully dusted, crusty exterior and an airy, pillowy interior that holds up perfectly to slicing, toasting, or spreading with warm butter.
- Difficulty Level: Easy (No complicated kneading required)
- Prep Time: 20 minutes
- Rise Time: 1 hour
- Bake Time: 40 minutes
- Total Time: 2 hours
- Safety: 100% gluten-free, safe for celiac disease and gluten sensitivities.
Essential Gluten-Free Ingredients
Baking without gluten requires the right balance of ingredients to mimic the structure that wheat usually provides. For the best results, use a kitchen scale to measure these ingredients accurately.
- Gluten-Free Flour Blend (312 grams or 2.5 cups): Use a high-quality, 1-to-1 baking flour blend that contains xanthan gum. Xanthan gum acts like gluten to hold the bread together so it does not crumble. Look for a package labeled certified gluten-free to ensure it is safe from cross-contamination.
- Warm Water (300 milliliters or 1.25 cups): The water must be warm to the touch, between 105 degrees Fahrenheit and 110 degrees Fahrenheit. If the water is too hot, it will kill the yeast. If it is too cold, the yeast will not wake up.
- Instant Yeast (7 grams or 1 packet): Instant yeast helps the dough rise quickly and creates those beautiful, fluffy air pockets inside the loaf.
- Honey or Sugar (21 grams or 1 tablespoon): This feeds the yeast so it can produce the gas needed to make the bread rise. It also adds a tiny hint of warmth to the flavor.
- Salt (6 grams or 1 teaspoon): Salt tightens the dough structure and enhances the rustic, savory flavor of the crust.
- Apple Cider Vinegar (5 milliliters or 1 teaspoon): The acid in the vinegar reacts with the yeast to give the dough an extra boost, making the inside of the loaf much lighter.
- Olive Oil (30 milliliters or 2 tablespoons): This adds moisture to the crumb, keeping the bread soft for days instead of turning hard.
Diet Variations
- Dairy-Free: This base recipe is naturally dairy-free.
- Vegan Option: Swap the honey for an equal amount of pure maple sugar or organic cane sugar.
Step-by-Step Instructions
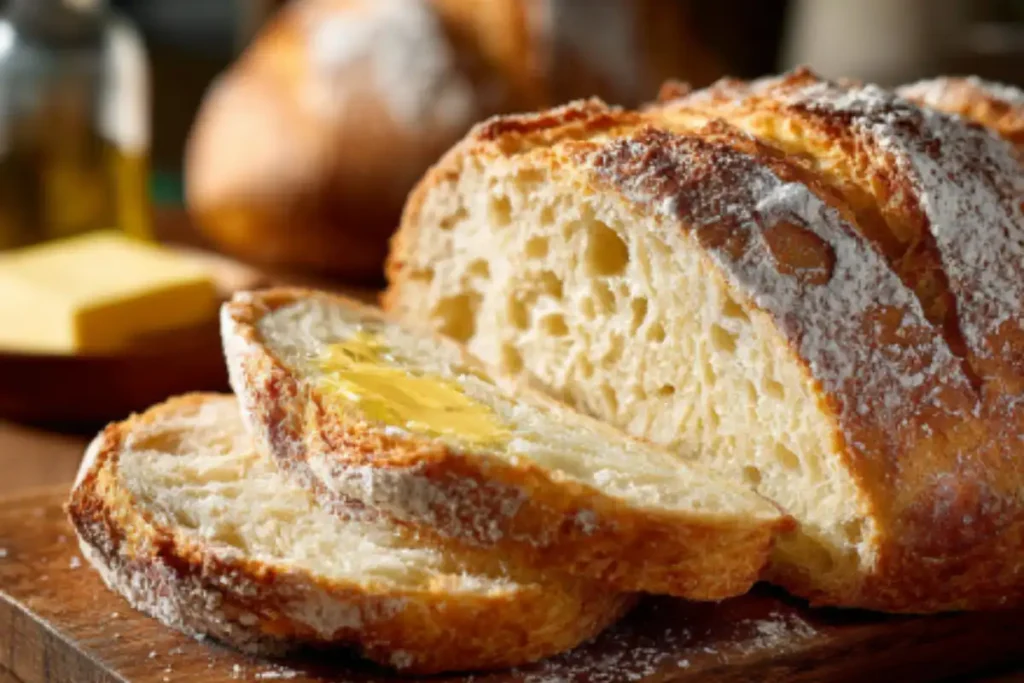
Gluten-free dough looks and feels different than regular bread dough. It will look more like a thick cake batter or a sticky paste rather than a smooth ball of dough. This is completely normal.
- Activate the Yeast: In a large bowl, combine the 300 milliliters of warm water, 21 grams of honey, and 7 grams of instant yeast. Stir gently and let it sit for 5 to 10 minutes. The mixture should become frothy and smell like fresh bread. If it does not foam, your water was likely too hot or your yeast is old, and you will need to start over with fresh yeast.
- Mix the Dry Ingredients: In a separate medium bowl, whisk together the 312 grams of gluten-free flour blend and 6 grams of salt until they are evenly combined.
- Combine the Wet and Dry: Add the 5 milliliters of apple cider vinegar and 30 milliliters of olive oil to your yeast mixture. Slowly pour the dry flour mixture into the wet ingredients.
- Mix the Dough: Use a sturdy wooden spoon or a stand mixer fitted with the paddle attachment to mix the dough thoroughly for about 3 to 5 minutes. Because there is no gluten, you cannot over-mix this dough. Ensure all the flour is fully absorbed and no dry pockets remain.
- Shape the Loaf: Line a baking sheet with parchment paper. Scrape the sticky dough onto the center of the parchment paper. Wet your hands slightly with warm water to keep the dough from sticking to your skin. Use your damp hands to gently smooth the top of the dough into a round, rustic dome shape.
- Let it Rise: Cover the loaf loosely with a clean, damp kitchen towel. Place it in a warm, draft-free spot in your kitchen to rise for 60 minutes. The dough should puff up significantly and grow to nearly double its original size.
- Preheat the Oven: While the bread is finishing its rise, preheat your oven to 400 degrees Fahrenheit.
- Dust and Score: Right before baking, dust the top of the risen loaf with a thin, fine layer of extra gluten-free flour. Use a very sharp knife to cut three shallow diagonal slashes across the top of the loaf. This controls where the bread expands as it bakes so it does not crack unevenly.
- Bake the Bread: Place the baking sheet in the oven. Bake at 400 degrees Fahrenheit for 35 to 40 minutes. The crust should turn a deep golden brown, and the loaf should sound hollow when you gently tap the bottom.
- Cool Completely: Remove the bread from the oven and transfer it to a wire cooling rack. You must let the bread cool completely for at least 1 hour before cutting into it. Gluten-free bread continues to cook and set its internal structure while it cools. Cutting it too early will trap steam inside and make the bread gummy.
Serving Suggestions
Once your loaf has cooled completely, use a sharp serrated bread knife to slice it into thick, fluffy portions.
- Classic Style: Slather a thick, warm slice with a generous layer of salted dairy-free or traditional butter.
- The Perfect Sandwich: Use two slices to build a hearty sandwich filled with roasted turkey, crisp lettuce, fresh tomatoes, and a spread of avocado mayonnaise.
- Breakfast Pairing: Toast a slice until the edges are crispy and serve it alongside a fresh garden salad or a warm bowl of vegetable soup.
Storage & Make-Ahead Tips
Gluten-free bread does not contain the preservatives found in store-bought loaves, so it requires proper storage to stay fresh.
- Room Temperature: Store the cooled bread in an airtight container or a sealed zip-top bag on your counter for up to 2 days. Do not store it in the refrigerator, as the cold air will dry out the starches and make the bread stale faster.
- Freezing Instructions: To save the loaf for later, slice the entire bread first. Place pieces of parchment paper between the slices so they do not stick together. Place the sliced loaf into a freezer-safe bag and freeze for up to 3 months.
- Reheating: You do not need to thaw the bread before heating it. Simply place a frozen slice directly into your toaster or toaster oven. Toasting revives the starches, making the inside incredibly soft and the outside delightfully crispy again.
Recipe Variations
- Herb and Garlic Loaf: Mix 1 tablespoon of dried rosemary and 1 teaspoon of garlic powder into the dry flour before combining it with the wet ingredients for a savory Italian-style bread.
- Cinnamon Raisin Bread: Add 1 tablespoon of ground cinnamon, 2 tablespoons of brown sugar, and 50 grams of raisins to the dough during the mixing step for a comforting breakfast treat.
- Seed and Grain Topping: Brush the top of the shaped dough lightly with water right before baking, then press 2 tablespoons of mixed sunflower seeds, flax seeds, and sesame seeds into the crust.
Conclusion
Baking your own gluten-free sandwich bread is an incredibly rewarding experience. This simple, rustic recipe proves that you do not need wheat to enjoy a thick, fluffy slice of bread with a beautiful bakery crust. You can confidently share this loaf with your friends and family, knowing it is entirely safe, allergen-friendly, and delicious. Gather your ingredients, try the recipe this weekend, and share your baking results or your favorite sandwich combinations in the comments below.
FAQs Section
Can I use oat flour or almond flour instead of a gluten-free flour blend?
No, you cannot substitute single grains like oat flour or almond flour in a 1-to-1 ratio for this recipe. Almond flour lacks the necessary starches to hold a high-rising structure, which would cause the bread to turn out incredibly dense and flat. This recipe relies on a pre-made gluten-free baking blend that contains rice flours and starches to mimic the exact behavior of traditional wheat flour.
How do I keep my gluten-free bread from crumbling?
The secret to preventing crumbling is using a flour blend that already contains xanthan gum. Xanthan gum acts as a binder that replaces the missing gluten network. Additionally, ensuring you let the loaf cool completely on a wire rack before slicing is critical. Slicing the bread while it is still hot releases the trapped steam too quickly, which ruins the texture and causes it to break apart.
What are the health benefits of baking bread at home?
Baking your own gluten-free sandwich bread at home allows you to control every single ingredient that goes into your body. Many commercial store-bought gluten-free breads are packed with chemical preservatives, extra sugars, and high amounts of sodium to extend their shelf life. This homemade recipe uses clean, simple ingredients, contains no artificial additives, and provides a wholesome alternative that is gentle on sensitive digestive systems.
Can I make this bread in a traditional loaf pan?
Yes, you can easily bake this dough in a standard 8-inch by 4-inch loaf pan instead of forming a free-form rustic boule on a baking sheet. Grease the loaf pan thoroughly with olive oil or line it with parchment paper before scraping the sticky dough inside. Smooth out the top surface with wet fingers, let it rise until it reaches the top edge of the pan, and bake for the same recommended time.