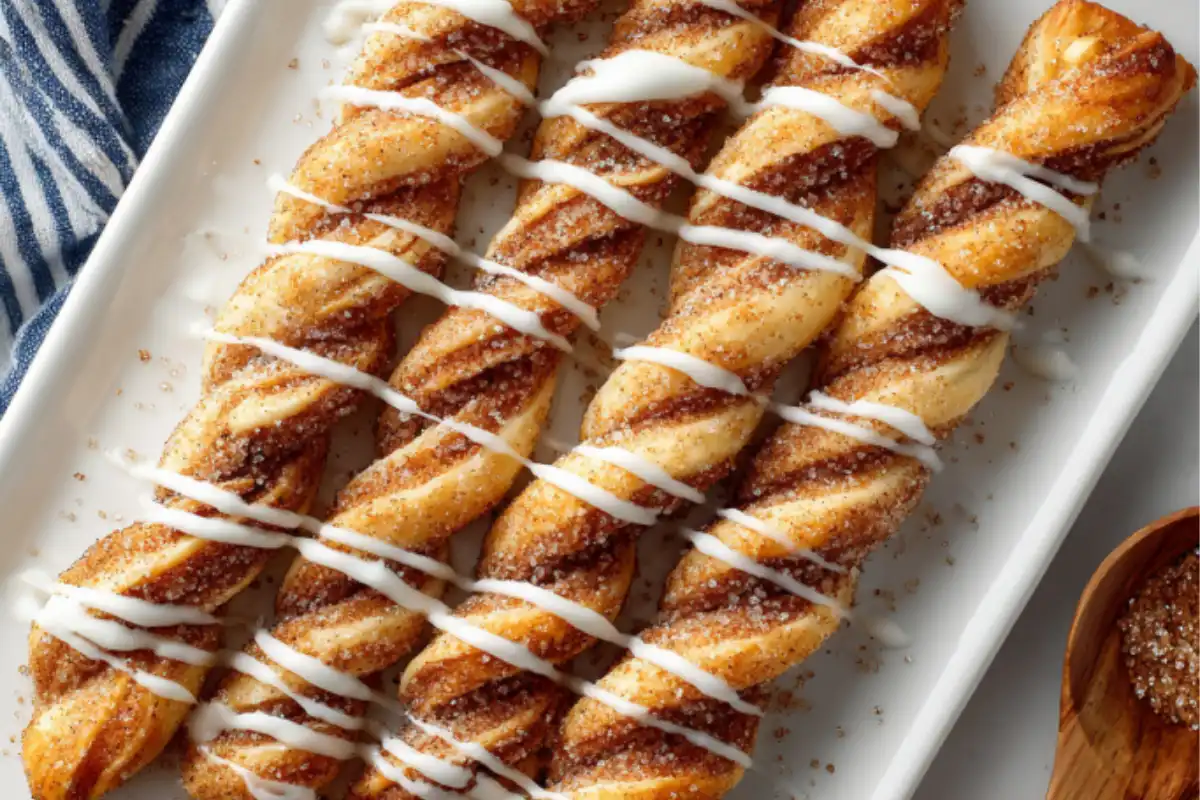
Do you miss the warm, sweet smell of fresh cinnamon rolls baking in the oven? For many of us who follow a gluten-free lifestyle, walking past a mall bakery can feel a little sad. You smell that wonderful cinnamon sugar and yeast, but you know you cannot have a bite. Many store-bought gluten-free treats are either hard as a rock or crumble into dust the second you pick them up. It makes you feel left out during family breakfasts or cozy weekend mornings. But you do not have to miss out anymore. You deserve a breakfast treat that tastes just as good as the original version, without making your tummy hurt.
Imagine biting into a warm pastry strip that has a perfectly crispy outer crust and a soft, pillowy middle. Every single bite is filled with rich brown sugar, spicy cinnamon, and a thick drizzle of sweet cream cheese glaze. This recipe brings that exact dream to life in your own kitchen. It is designed to be completely stress-free, so you do not have to spend hours waiting for yeast dough to rise. Whether you live with celiac disease, have a sensitivity to gluten, or are just cooking for someone you love, this recipe will become your new favorite morning tradition. Let us bring the joy of cozy baking back into your home.
This recipe changes the game for gluten-free baking because it solves the two biggest problems: bad texture and too much work. Traditional gluten-free dough can be very sticky and hard to roll into a perfect swirl. By cutting the pastry into long, rectangular strips instead of round rolls, we eliminate the frustrating rolling process entirely. The unique blend of ingredients ensures that the pastry bakes up with a delightful crunch on the outside while staying light and airy on the inside. It gives you all the flavors of a classic bakery treat with a fraction of the effort.
- Prep Time: 20 minutes
- Bake Time: 18 minutes
- Total Time: 38 minutes
- Difficulty: Easy
- Dietary Safety: 100% Gluten-Free, Celiac-Safe, Peanut-Free
This recipe is rated as easy, making it perfect for beginners, busy parents, or anyone who wants a quick sweet fix. Because we do not use wheat or gluten ingredients, this treat is entirely safe for celiac readers and anyone with gluten sensitivity. You can serve these sticks at brunch with absolute peace of mind, knowing they are safe and delicious for everyone at the table.
Essential Gluten-Free Ingredients
Baking without gluten requires the right building blocks to get a soft texture that does not crumble. Choosing certified products keeps your kitchen safe from cross-contamination.
For the Pastry Sticks
- 2 cups Gluten-free 1-to-1 baking flour (Must contain xanthan gum, such as Bob’s Red Mill or King Arthur)
- 1/2 cup Blanched almond flour (Adds moisture and fat for a tender, fluffy interior texture)
- 1/4 cup Granulated white sugar (Feeds the structure and adds mild sweetness)
- 1 tablespoon Baking powder (Provides the rise needed to keep the sticks light)
- 1/2 teaspoon Salt (Balances the sweetness and highlights the butter flavor)
- 6 tablespoons Unsalted butter, cold (Cut into small cubes to keep the pastry flaky)
- 3/4 cup Whole milk, cold (Binds the dough together and adds richness)
For the Cinnamon Sugar Topping
- 4 tablespoons Unsalted butter, melted (Used to brush the dough so the sugar sticks perfectly)
- 1/2 cup Brown sugar, packed (Creates a deep, caramelized crust as it bakes)
- 1 1/2 tablespoons Ground cinnamon (Use a high-quality certified gluten-free cinnamon)
For the Opaque Cream Cheese Glaze
- 2 ounces Cream cheese, softened (Provides the classic tangy bakery flavor)
- 2 tablespoons Unsalted butter, softened (Blends with the cream cheese for a velvety texture)
- 1 cup Powdered sugar (Sifted to ensure there are no lumps in your glaze)
- 1 teaspoon Pure vanilla extract (Check labels to ensure it is specified gluten-free)
- 1 to 2 tablespoons Heavy cream or milk (Added slowly to reach the perfect drizzling thickness)
Gluten-Free Shopping Tip: Always look for a certified gluten-free label on your flour, baking powder, and spices. Wheat flour dust can easily contaminate spices during manufacturing, so buying certified brands keeps celiac family members completely safe.
Step-by-Step Instructions
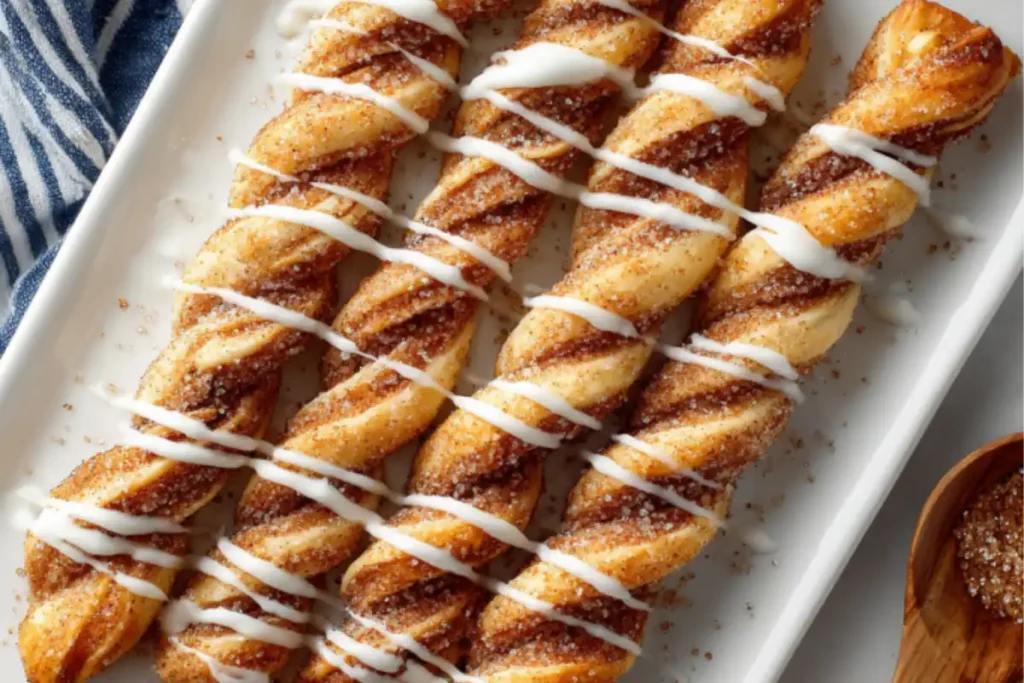
Follow these simple, numbered steps to create your delicious breakfast treats. Treat the dough gently for the fluffiest results.
- Preheat and prepare: Turn your oven to 400°F. Line a large, flat baking sheet with a piece of parchment paper. This stops the cinnamon sugar from sticking to your pan and makes cleaning up very easy.
- Mix the dry ingredients: Whisk the 2 cups of gluten-free 1-to-1 baking flour, 1/2 cup of almond flour, 1/4 cup of granulated sugar, 1 tablespoon of baking powder, and 1/2 teaspoon of salt together in a large mixing bowl until combined.
- Cut in the cold butter: Drop the 6 tablespoons of cold, cubed butter into the flour mixture. Use a pastry cutter or two forks to mash the butter into the flour. Keep mashing until the mixture looks like coarse crumbs with some pea-sized pieces of butter left. These small bits of butter create steam pockets that make the pastry fluffy.
- Add the milk to form dough: Pour the 3/4 cup of cold whole milk into the bowl. Stir gently with a wooden spoon or rubber spatula just until a soft dough forms. Do not overmix, or the sticks might turn out tough. Gluten-free dough absorbs liquid quickly.
- Shape the pastry sheet: Turn the dough out directly onto your prepared parchment paper. Use your hands to pat and press the dough into a neat rectangle that is about 1/2-inch thick. The rectangle should be roughly 8 inches wide and 10 inches long.
- Add the cinnamon topping: Use a pastry brush to spread the 4 tablespoons of melted butter evenly over the entire top of your dough rectangle. In a small bowl, stir the 1/2 cup of brown sugar and 1 1/2 tablespoons of ground cinnamon together. Sprinkle this mixture generously over the melted butter, covering every spot.
- Cut into rectangular sticks: Use a sharp knife or a pizza cutter to slice the dough rectangle into long strips. First, cut the rectangle in half lengthwise. Then, cut across to create individual rectangular sticks that are about 1 inch wide. Leave the sticks resting right next to each other on the paper so they stay moist while baking.
- Bake until golden: Slide the baking sheet into the middle rack of your preheated oven. Bake for 18 minutes. The edges should look deeply caramelized and golden brown, and the centers should feel set.
- Mix the cream cheese glaze: While the sticks are in the oven, place the 2 ounces of softened cream cheese and 2 tablespoons of softened butter in a medium bowl. Beat with a hand mixer until completely smooth. Add 1 cup of powdered sugar, 1 teaspoon of vanilla extract, and 1 tablespoon of heavy cream. Beat until thick, white, and smooth. Add a tiny splash more cream if it feels too thick to drizzle.
- Cool and decorate: Remove the baking sheet from the oven and let the pastry cool for about 5 minutes. While they are still warm, use a spoon or a plastic piping bag to drizzle the thick cream cheese glaze in a beautiful diagonal zig-zag pattern across all the pastry strips. Dust a tiny bit of extra powdered sugar over the top if desired.
Success Tip for Gluten-Free Dough: Gluten-free dough can feel more fragile than regular wheat dough. If your dough feels too sticky to shape into a clean rectangle, simply wet your fingers with a tiny bit of water or dust them with extra gluten-free flour. This stops it from sticking to your skin.
Assembly or Serving Suggestions
Serving these hot, sweet sticks makes breakfast feel like a special celebration. Carefully slide a spatula under the warm rectangular strips and pull them apart gently. Arrange them in a neat row or stack them up like a log cabin on a white ceramic serving platter. The bright white plate makes the golden, caramelized edges and white glaze stand out beautifully.
These sweet sticks pair wonderfully with a hot cup of black coffee or a warm herbal tea, which cuts through the rich sugar flavor. For a complete breakfast, serve them alongside a bowl of fresh berries or a plate of scrambled eggs. If you are hosting a fun morning party, you can set out extra little bowls filled with dairy-free caramel dip, warm maple syrup, or chopped pecans so your guests can customize their own treats.
Storage & Make-Ahead Tips
Gluten-free baked goods can dry out faster than traditional pastries, so proper storage is important to keep them soft and tasty.
- Room Temperature: If you have leftovers, place them in an airtight container once they are completely cool. Keep them on your kitchen counter for up to 2 days.
- Freezing Instructions: You can freeze these sticks easily. For best results, freeze them before you add the glaze. Place the baked, cooled sticks on a baking sheet in a single layer and freeze for 1 hour. Then, transfer them into a freezer-safe zip-top bag with sheets of parchment paper between the layers. They will stay fresh for up to 3 months.
- Reheating: To make frozen or counter-stored sticks taste fresh-baked again, use your oven or toaster oven. Heat them at 350°F for 5 to 7 minutes until the crust gets crispy and the middle warms through. If you already glazed them, the icing will melt into a delicious sweet sauce as it heats up. Avoid using the microwave, as it can make gluten-free flour turn a bit gummy.
Recipe Variations
You can easily adapt this simple recipe to fit other dietary needs or change up the flavors for different seasons.
- Make It Vegan and Dairy-Free: Swap the dairy milk for a rich, unsweetened almond milk or oat milk. Use a plant-based stick butter alternative in place of the dairy butter for the dough and topping. For the glaze, use a dairy-free cream cheese alternative and dairy-free milk.
- Add Extra Crunch: Sprinkle 1/3 cup of finely chopped walnuts or pecans over the cinnamon sugar layer before baking. This gives the sticks a wonderful nutty texture that mimics a classic cinnamon bun.
- Apple Pie Twist: Peel and finely mince half of a sweet apple. Scatter the tiny apple bits over the dough right before you sprinkle the cinnamon sugar topping. As it bakes, the apple softens and makes the strips taste like a cozy autumn pie.
- Turn It into Savory Breakfast Twists: Skip the cinnamon, brown sugar, and glaze entirely. Instead, brush the dough rectangle with melted butter and sprinkle it with garlic powder, dried rosemary, and a handful of grated parmesan cheese. Cut into strips and bake for a savory side dish that pairs perfectly with warm soups or morning omelets.
Conclusion
Living gluten-free should never mean missing out on the warm, comforting foods that make life sweet. These easy gluten-free cinnamon roll sticks prove that you can make bakery-quality treats at home with safe ingredients and simple steps. You do not need to be an expert baker or spend all day in the kitchen to enjoy a fluffy, crispy pastry that makes your morning special. You can bake these with total confidence, knowing they are safe for your body and completely delicious for your taste buds. Go ahead and treat yourself this weekend. If you make this recipe, please leave a comment below to share how they turned out or let us know what your favorite breakfast pairings are.
FAQs Section
Can I use oat flour or coconut flour instead of almond flour? It is best not to swap the almond flour out for these options. Coconut flour absorbs way too much liquid and will make your pastry dry and crumbly. Oat flour can work, but almond flour is highly recommended because its natural fats keep the middle of the sticks incredibly soft and fluffy without any gluten.
How do I keep my gluten-free pastry sticks from crumbling apart? The secret to stopping crumbles is making sure your 1-to-1 gluten-free flour blend contains xanthan gum. Xanthan gum acts like gluten by holding the ingredients together. Also, leaving the pastry strips close together on the baking sheet while they bake helps them trap moisture so they stay soft inside.
Are these cinnamon sticks quick enough to make on a regular weekday morning? Yes, they are very quick. Because this recipe uses baking powder instead of yeast, there is no need to wait hours for dough to rise. You can mix, shape, and bake these in less than 40 minutes total, making them an excellent fast choice for any day of the week.
What are the main benefits of making these sticks instead of traditional round cinnamon rolls? The main benefits are speed, ease, and texture versatility. Traditional rolling can tear fragile gluten-free dough, but this flat-sheet method eliminates that frustration completely. Additionally, the stick shape gives you more edges, creating a wonderful balance of crispy exterior crust and soft, pillowy interior in every single bite.