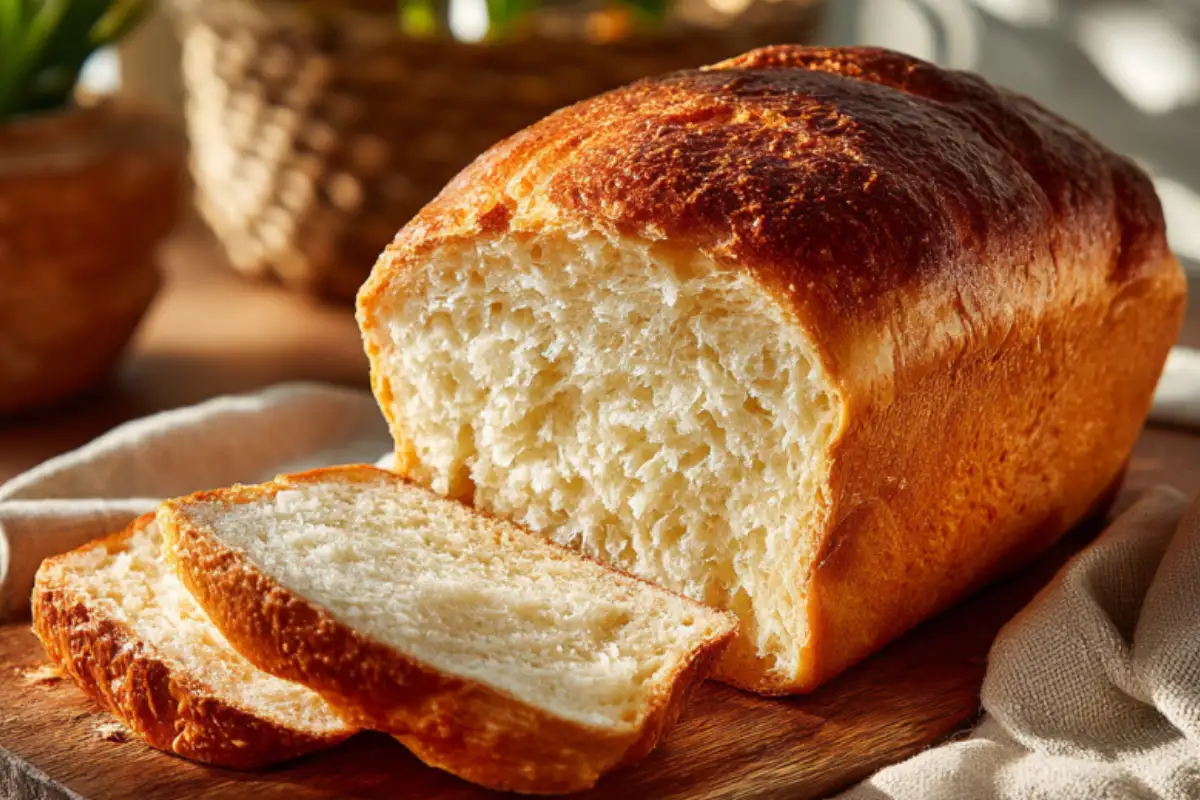
Have you ever missed the simple joy of tearing into a warm, soft slice of white bread without worrying about how it will make you feel? For many people cutting out gluten, finding a loaf that actually tastes good, holds together, and bends without breaking feels nearly impossible. Most store-bought gluten-free breads are small, dense, and crumble the moment you try to spread butter on them. You do not have to settle for dry, cardboard-like slices anymore. This recipe gives you the perfect gluten-free version of the classic white bread you love, right from your own oven.
Overview
This recipe is a game-changer because it delivers a loaf with a beautifully golden crust and a remarkably light, pillowy center. Unlike traditional bread, there is no intense kneading required here because there is no gluten network to develop. It is 100% gluten-free and completely safe for anyone with celiac disease or gluten sensitivities.
- Prep Time: 20 minutes
- Rise Time: 1 hour
- Bake Time: 40 minutes
- Total Time: 2 hours
- Difficulty Level: Easy
Essential Gluten-Free Ingredients
Using the right ingredients makes all the difference in gluten-free baking. For the best results, look for packages explicitly marked with a certified gluten-free label to ensure total safety.
- 3 cups Gluten-Free Measure-for-Measure Flour Blend: Choose a high-quality blend that already contains xanthan gum. This gum mimics gluten by trapping gas bubbles, which helps the bread rise and stay together.
- 1 tablespoon Instant Yeast: This helps the bread rise quickly and creates those tiny air pockets that make the loaf light and fluffy.
- 1 and 1/2 teaspoons Fine Salt: Salt controls the yeast growth and brings out the classic savory bread flavor.
- 2 tablespoons Granulated Sugar: Sugar acts as food for the yeast, helping it activate and giving the crust a lovely golden color.
- 1 and 1/4 cups Warm Water: Ensure the water temperature is between 105 and 110 degrees Fahrenheit. If it is too hot, it will kill the yeast; if it is too cold, the yeast will not wake up.
- 3 large Egg Whites: Room temperature egg whites provide structure and lift, preventing the loaf from collapsing in the center.
- 3 tablespoons Olive Oil: Oil adds moisture to the crumb, keeping the bread from drying out too quickly.
- 1 teaspoon Apple Cider Vinegar: The acid reacts with the yeast and dough to boost the rise and improve the overall texture.
Variations and Substitutions
- Dairy-Free: This recipe is naturally dairy-free as written.
- Egg-Free/Vegan: If you cannot eat eggs, you can replace the three egg whites with 1/4 cup of aquafaba (the liquid from a can of chickpeas) whipped until foamy, though the final rise may be slightly denser.
Step-by-Step Instructions
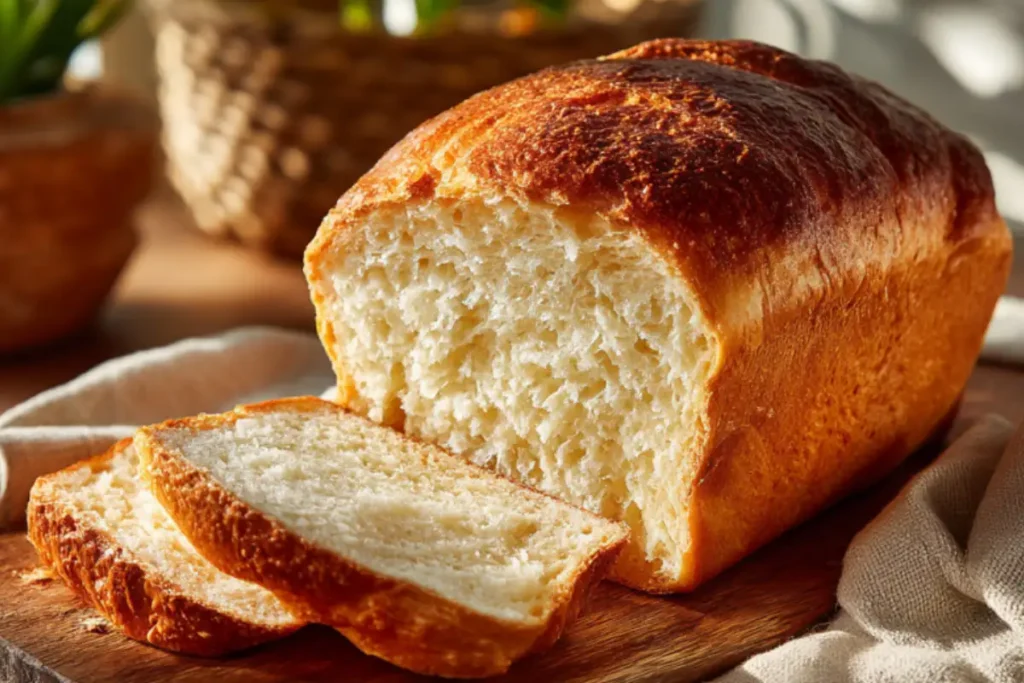
Follow these clear steps to bake your perfect loaf. Because gluten-free dough behaves more like a thick cake batter than traditional stretchy dough, handle it gently and trust the process.
- Prepare your baking space: Grease an 8.5 by 4.5-inch loaf pan thoroughly with oil or line it with parchment paper. To avoid cross-contamination in your kitchen, ensure all bowls, mixers, and utensils are thoroughly cleaned and free of any wheat flour residue.
- Activate the yeast: In a small bowl, combine 1/4 cup of the warm water, 2 tablespoons of sugar, and 1 tablespoon of instant yeast. Stir gently and let it sit for 5 to 10 minutes until it becomes frothy and bubbly on top.
- Mix the dry ingredients: In a large mixing bowl or the bowl of a stand mixer, whisk together 3 cups of gluten-free flour blend and 1 and 1/2 teaspoons of fine salt.
- Combine the wet ingredients: In a separate medium bowl, whisk together the remaining 1 cup of warm water, 3 large egg whites, 3 tablespoons of olive oil, and 1 teaspoon of apple cider vinegar.
- Bring the dough together: Pour the frothy yeast mixture and the wet ingredient mixture into the bowl with the dry ingredients. Turn your mixer to medium speed and blend for 3 to 4 minutes. The dough will look very thick and sticky, resembling a thick cake batter rather than a smooth ball of dough.
- Transfer and smooth: Spoon the dough into your prepared loaf pan. Dip a spatula or the back of a spoon into a little water and gently smooth out the top surface of the dough so it bakes evenly.
- Let it rise: Cover the pan loosely with a clean, lightweight kitchen towel. Place the pan in a warm, draft-free spot in your kitchen for about 60 minutes, or until the dough rises just to the top edge of the loaf pan.
- Bake the loaf: While the dough finishes rising, preheat your oven to 350 degrees Fahrenheit. Place the loaf pan on the center rack and bake for 38 to 42 minutes. The top should be a deep golden brown, and the loaf should sound hollow when you tap it gently.
- Cool completely: Remove the pan from the oven and let the bread cool inside the pan for 10 minutes. Then, gently turn the loaf out onto a wire cooling rack. Allow it to cool completely before slicing. Slicing warm gluten-free bread can cause the interior structure to collapse and become gummy.
Assembly or Serving Suggestions
This versatile loaf works beautifully for daily meals. Slice it thinly using a sharp serrated bread knife to keep the edges clean and neat.
- Breakfast: Toast a slice until golden brown, spread with real butter, or top with mashed avocado and a pinch of salt.
- Lunch: Use two un-toasted slices to build a classic turkey and Swiss cheese sandwich. The structure holds up perfectly to deli meats and condiments.
- Dinner Pairing: Serve thick slices alongside a warm bowl of soup, stew, or a fresh garden salad to soak up flavorful dressings and broths.
Storage & Make-Ahead Tips
Gluten-free bread does not contain the preservatives found in commercial loaves, so it requires proper storage to maintain its soft texture.
- Room Temperature: Store the cooled loaf in an airtight container or a sealed zip-top bag at room temperature for up to 3 days. Do not store it in the refrigerator, as the cold air recrystallizes the starches and makes the bread go stale much faster.
- Freezing: For longer storage, slice the entire loaf completely. Place pieces of parchment paper between the slices so they do not stick together, then place them into a heavy-duty freezer bag. Freeze for up to 3 months.
- Reheating: You can place frozen slices directly into your toaster or toaster oven. Toasting revives the moisture inside the crumb, making it taste just like it was freshly baked.
Recipe Variations
- Cinnamon Raisin Bread: Fold in 1 tablespoon of ground cinnamon and 1/2 cup of certified gluten-free raisins during the last minute of mixing the dough.
- Herb and Garlic Loaf: Add 1 teaspoon of garlic powder and 1 tablespoon of dried Italian herbs to the dry flour mixture for a savory dinner bread.
- Seed-Crusted Bread: Spray the smoothed top of the unrisen dough with a tiny bit of water and sprinkle 2 tablespoons of mixed flax, sunflower, and sesame seeds over the top before letting it rise.
Conclusion
Baking your own gluten-free bread is an incredibly rewarding way to bring comfort back into your kitchen. With the right ingredients and a little patience while the loaf cools, you can enjoy sandwiches, toast, and snacks with absolute confidence. You deserve bread that tastes wonderful and keeps you feeling your best. Please share your baking results, thoughts, or your own favorite sandwich combinations in the comments section below.
FAQs Section
Can I use oat flour or almond flour instead of a gluten-free flour blend?
No, you cannot swap the blend out for single flours like oat flour or almond flour. This recipe relies on a specific balance of starches and rice flours found in a measure-for-measure blend, along with xanthan gum, to mimic the structural properties of wheat flour. Using a single flour will result in a heavy, flat loaf that does not rise.
How do I keep my gluten-free bread from crumbling?
The secret to stopping crumbles is a combination of xanthan gum, room temperature egg whites, and letting the bread cool entirely before slicing. Slicing the loaf while it is still hot traps steam inside, which breaks down the delicate structure and makes the crumb fragile.
How long does this recipe take to prepare?
The actual hands-on preparation time is only about 20 minutes because there is no kneading involved. The rest of the time is spent letting the yeast do its work to rise the dough and letting the oven bake the loaf to golden perfection.
What are the health benefits of baking bread at home?
When you bake your bread from scratch, you have complete control over every single ingredient. This means your homemade loaf contains no artificial preservatives, excess refined sugars, or hidden chemical additives, making it a wholesome and clean option for your digestive health.