Have you ever missed the simple joy of pulling apart a warm, soft dinner roll at the dinner table? For many people cutting out gluten, bread is the hardest thing to give up. So many store-bought gluten-free rolls turn out dense, crumbly, or taste like cardboard. It can feel discouraging when you just want a normal piece of bread that bends and stretches like traditional yeast rolls. Fortunately, you do not have to miss out any longer. This recipe delivers the exact soft, pillowy texture you miss, without any of the gluten.
Recipe Overview
This recipe is designed to recreate the classic, comforting texture of traditional pull-apart yeast rolls. In the gluten-free baking world, getting bread to rise and stay fluffy can be tough, but this method works every time.
- Difficulty Level: Easy to Medium
- Prep Time: 20 minutes
- Rise Time: 1 hour
- Bake Time: 25 minutes
- Total Time: 1 hour 45 minutes
This recipe is 100% gluten-free and entirely safe for individuals with celiac disease or severe gluten sensitivities. By using standard baking tools and simple steps, even beginners can achieve a perfect bake.
Essential Gluten-Free Ingredients
Gluten-free baking relies on a specific blend of ingredients to mimic the structure that wheat flour normally provides. For the best results, use a digital kitchen scale to measure these ingredients accurately.
- Gluten-Free Flour Blend: 3 cups (360 grams) of a high-quality, 1-to-1 baking flour blend. Look for a brand that contains xanthan gum already mixed in. Ensure the package states “certified gluten-free” to prevent cross-contamination.
- Psyllium Husk Powder: 2 tablespoons (12 grams). This ingredient is crucial. It acts like gluten, giving the dough elasticity so it can trap yeast bubbles and stretch without breaking.
- Instant Yeast: 1 packet (7 grams or 2 and 1/4 teaspoons). Make sure your yeast is fresh and certified gluten-free.
- Warm Water: 1 and 1/4 cups (300 milliliters). The water should feel warm to the touch, like baby bathwater, between 105°F and 110°F. If the water is too hot, it will kill the yeast.
- Honey or Sugar: 2 tablespoons (42 grams). This feeds the yeast and helps the rolls brown beautifully in the oven.
- Melted Butter: 4 tablespoons (56 grams). This adds richness and moisture. For a dairy-free or vegan option, you can use an equal amount of melted vegan butter or neutral oil.
- Large Eggs: 2 room-temperature eggs. Eggs provide structure and lift to the dough. To make this vegan, use a commercial egg replacer equivalent to two eggs.
- Apple Cider Vinegar: 1 teaspoon. The acid helps activate the yeast and softens the crumb of the bread.
- Salt: 1 teaspoon. Fine sea salt enhances the overall flavor of the bread.
Step-by-Step Instructions
Follow these numbered steps carefully. Remember that gluten-free dough behaves differently than wheat dough. It will look wetter and stickier, resembling a thick cake batter rather than a smooth, kneadable ball of dough. This is completely normal.
- Activate the Yeast: In a small bowl, combine 1 and 1/4 cups of warm water, 2 tablespoons of honey, and 2 and 1/4 teaspoons of instant yeast. Stir gently and let it sit for 5 to 10 minutes. The mixture should become frothy and bubbly. If it does not foam, your yeast may be old, and you will need to start over with a fresh packet.
- Mix the Dry Ingredients: In a large mixing bowl, whisk together 3 cups of gluten-free flour blend, 2 tablespoons of psyllium husk powder, and 1 teaspoon of salt.
- Combine the Wet Ingredients: In a separate medium bowl, whisk together 2 room-temperature eggs, 4 tablespoons of melted butter, and 1 teaspoon of apple cider vinegar. Pour in the foamy yeast mixture and stir to combine.
- Form the Dough: Pour the wet ingredients into the dry ingredients bowl. Use a sturdy wooden spoon or a stand mixer fitted with a paddle attachment to mix the dough. Mix on medium speed for 3 to 4 minutes. The dough will be very sticky, but it will thicken up as the psyllium husk absorbs the liquid.
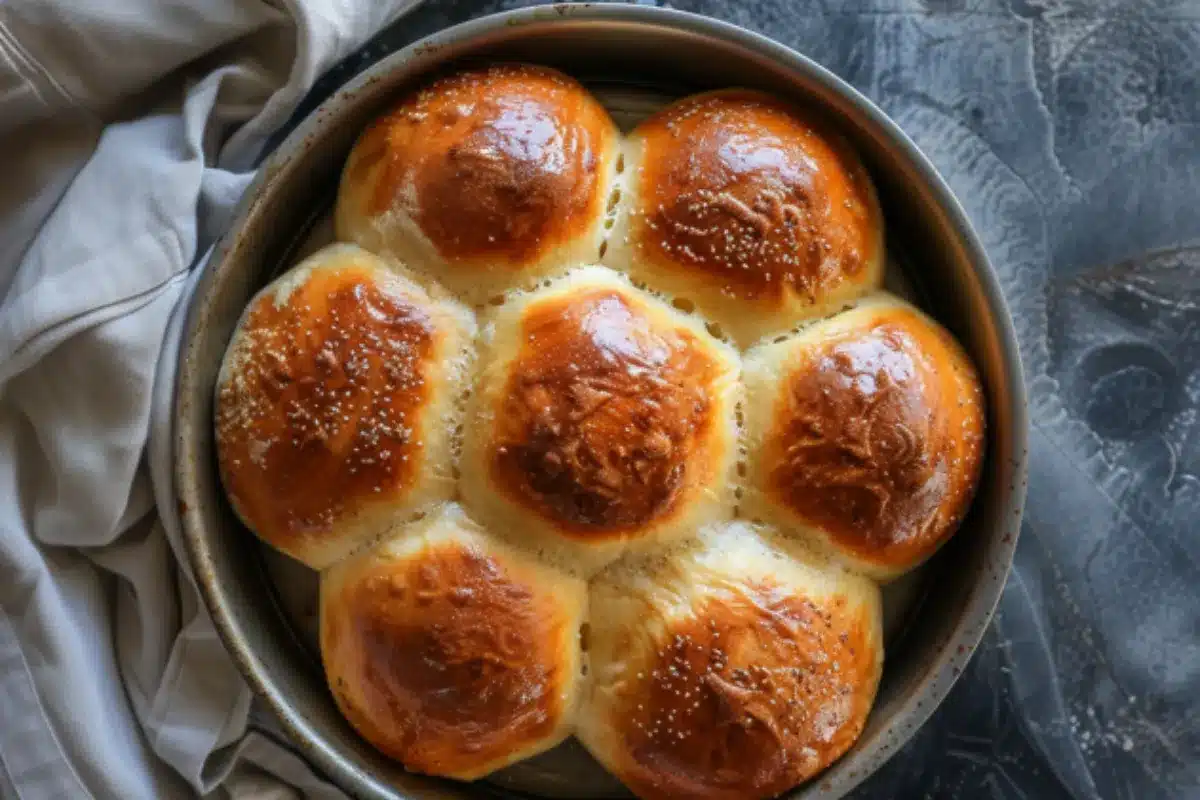
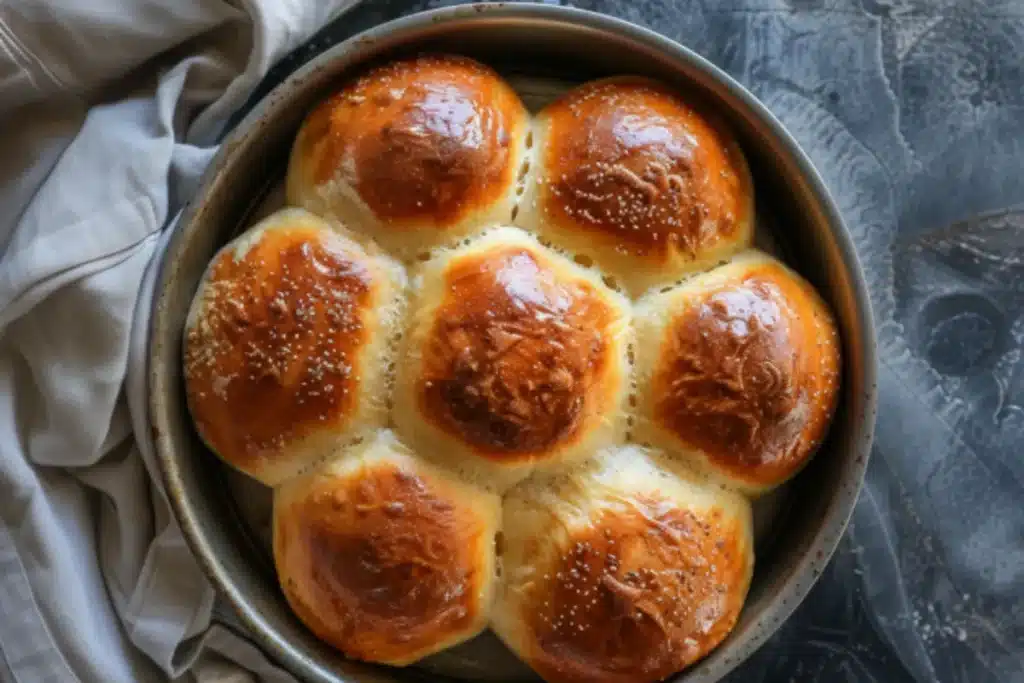
- Shape the Rolls: Grease a 9-inch round metal baking pan with butter or oil. Divide the sticky dough into 7 equal portions. Wet your hands with water or oil to keep the dough from sticking to your skin. Gently roll each portion into a smooth ball and place them in the prepared pan. Arrange one ball in the center and place the remaining six balls around it in a circle.
- Let the Dough Rise: Cover the baking pan loosely with a clean, damp kitchen towel. Place the pan in a warm, draft-free spot to rise for about 60 minutes. The rolls should double in size and begin touching each other.
- Preheat the Oven: While the rolls are finishing their rise, preheat your oven to 375°F (190°C).
- Bake the Rolls: Place the pan on the center rack of the preheated oven. Bake for 22 to 25 minutes. The tops should turn a deep, shiny golden brown.
- Cool and Serve: Remove the pan from the oven. Brush the tops with a little extra melted butter if desired. Allow the rolls to cool in the pan for 10 minutes before serving.
Serving Suggestions
These pull-apart rolls are best enjoyed fresh and warm from the oven. Set the whole round pan directly onto the table on a heat-safe mat to let family and guests pull off their own individual rolls.
- Classic Pairing: Serve these rolls alongside a warm bowl of vegetable soup, chili, or a Sunday pot roast. They are perfect for soaking up savory juices and gravies.
- Holiday Feast: These make an excellent addition to Thanksgiving or holiday dinner tables, ensuring that gluten-free guests can enjoy bread safely.
- Sweet Option: Slice a warm roll in half and spread it with homemade berry jam, honey butter, or apple butter for a cozy morning snack.
Storage & Make-Ahead Tips
Gluten-free bread dries out faster than regular bread because it lacks wheat gluten to lock in moisture. Proper storage keeps them tasting fresh.
- Room Temperature Storage: Store completely cooled leftover rolls in an airtight container or a zip-top bag at room temperature for up to 2 days. Do not store them in the refrigerator, as the cold air dries out gluten-free starches quickly.
- Freezing Instructions: To keep them fresh longer, freeze the rolls. Wrap individual rolls tightly in plastic wrap, then place them all into a freezer-safe bag. They will keep well in the freezer for up to 3 months.
- Reheating Instructions: To reheat from room temperature, microwave a single roll for 15 seconds, or wrap it in aluminum foil and warm it in a 350°F oven for 5 to 7 minutes. To reheat from frozen, let the rolls thaw on the counter for an hour, then warm them using the oven method to restore that fresh-baked crispness to the crust.
Recipe Variations
You can easily adapt this base recipe to fit different dietary preferences or to create new flavor profiles.
- Garlic and Herb Rolls: Mix 1 teaspoon of garlic powder, 1 teaspoon of dried rosemary, and 1 teaspoon of dried thyme into the dry ingredients before mixing. Brush the finished rolls with garlic-infused olive oil and sprinkle with sea salt flakes.
- Sweet Cinnamon Rolls: Swap out the honey for maple syrup, and add 1/2 teaspoon of ground cinnamon to the flour mixture for a fragrant, slightly sweet roll.
- Seed Toppings: Before baking, brush the top of the risen dough balls with a simple egg wash (one egg beaten with a tablespoon of water) and sprinkle poppy seeds, sesame seeds, or everything bagel seasoning across the top.
FAQs Section
Can I use oat flour or almond flour instead of a gluten-free blend?
No. Oat flour and almond flour lack the starch balance needed to create a structured, bread-like crumb. This recipe requires a balanced 1-to-1 gluten-free baking flour blend containing rice flours and starches to ensure the rolls rise properly and do not collapse.
How do I keep my gluten-free bread from crumbling?
The secret to stopping the crumble is the psyllium husk powder. It creates a gel that holds the moisture and binds the flour together just like regular gluten does. Measuring your flour precisely by weight also prevents the dough from becoming too dry.
Why didn’t my rolls rise?
The most common reason is that the water used to mix the yeast was either too cold to activate it or too hot, which kills the yeast cells. Always check the expiration date on your yeast packet to ensure it is active.
Is this recipe healthy?
These rolls offer a wonderful option for anyone who needs to avoid gluten for medical reasons or digestive comfort. They provide a quick energy source and allow you to enjoy classic comfort food without worrying about gut irritation or inflammation.
Conclusion
Baking without gluten does not mean you have to settle for dry, hard bread. With the right ingredients and a little patience, you can bake beautiful, golden-brown rolls that everyone at the table will love, whether they eat gluten-free or not.
Please leave a comment below to let us know how your rolls turned out, or share your favorite ways to serve them. Enjoy your baking.